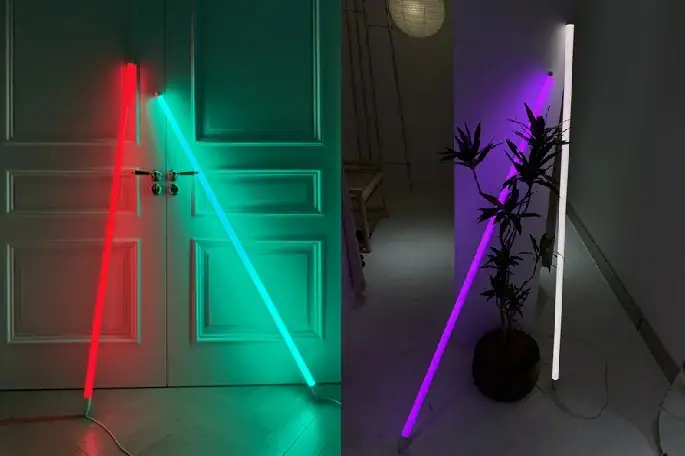

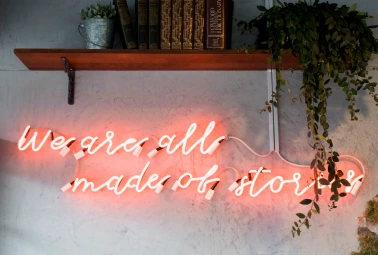

Neon signs have come a long way from the vintage glass neon signs you’d see outside cafes and diners. In the recent decade, the DIY neon sign trend is everywhere—from home offices and wedding backdrops to retail displays and trade show booths. Thanks to flexible LED technology, it’s now possible to create a custom glow without working with glass neon tubes.
If you’ve ever wondered how to create neon signs on your own, this guide walks you through everything: materials, tools, step-by-step instructions, design tips, and safety considerations. Whether you’re experimenting with DIY LED neon letters for a bedroom wall or building a branded piece for your storefront, you’ll find practical advice you can actually use.
Why Choose LED for a DIY Neon Sign?
LED neon signs use flexible silicone or PVC tubing with embedded LED strips. The result looks
similar to classic neon, but it’s:
- More durable
- Energy efficient
- Easier to install
- Safer for kids and pets
If you’re researching how to make a neon light at home, LED is the most realistic and accessible option.
Of course, while building a DIY neon sign can be a rewarding hands-on project, it’s not the right fit for everyone. If you’d rather skip the wiring, cutting, and installation process, you can explore professional neon sign brands such as Echo Neon. These neon sign brands offer a range of ready-to-ship designs, and you can also customize your own sign directly on their websites. Simply share your text, logo, or idea, and the team will handle the technical details—from layout and proportions to production and finishing. It’s a practical alternative if you want the glow without the guesswork.
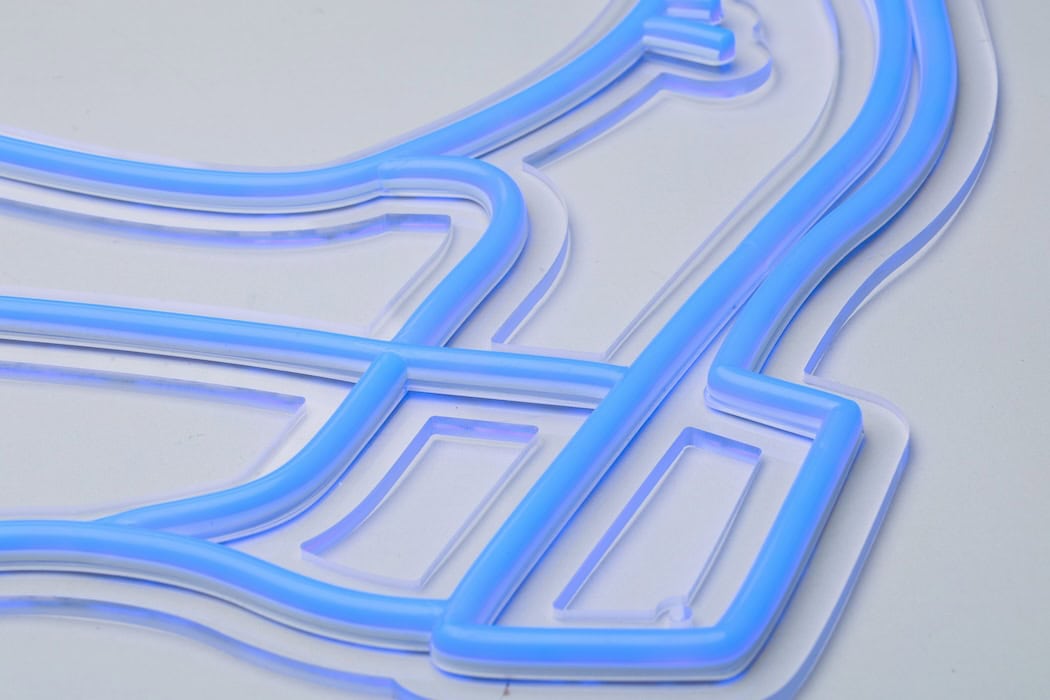
DIY LED Neon: Understanding How LED Neon Works
Before jumping into how to make LED neon signs, it helps to understand the structure:
- LED Strip Core – Produces the light.
- Diffused Silicone Jacket – Softens and spreads the glow evenly.
- Backing or Mounting Surface – Holds the shape (often acrylic).
- Power Supply & Controller – Delivers consistent voltage and, if RGB, controls color effects.
Unlike glass neon, you’re not bending heated tubes. You’re shaping flexible LED tubing along a design outline.
Step 1: Plan Your Design
Every successful diy neon sign starts with a clear plan.
Choose Your Text or Graphic
Popular choices include:
- Names or initials
- Business logos
- Inspirational phrases
- Simple line art (hearts, lightning bolts, stars)
If you’re creating DIY LED neon letters, pick a bold, continuous font. Script fonts work beautifully because the lines naturally connect.
Keep It Simple
For beginners learning how to make neon signs, avoid:
- Extremely tight curves
- Ultra-thin letter strokes
- Highly detailed illustrations
LED neon tubing has a minimum bending radius. Sharp corners may require segmentation.
Size & Placement
Measure the wall or space where your sign will live. Decide:
Planning ahead prevents costly mistakes later.
Step 2: Gather Materials
Here’s what you’ll need to build your LED neon sign.
Core Materials
- LED neon flex tubing (single color or RGB)
- Clear acrylic sheet (3–8mm thick)
- Power adapter (matching voltage)
- Dimmer or RGB controller (if applicable)
- Transparent mounting clips or adhesive
Tools
- Printed design template (full scale)
- Measuring tape
- Marker
- Acrylic cutter or saw
- Drill (for mounting holes)
- Wire stripper
- Soldering iron (if required)
- Heat shrink tubing
- Silicone glue (optional reinforcement)
If you’re exploring how to create neon signs regularly, investing in quality tools makes the process smoother and safer.
Step 3: Prepare Your Backing Board
you’re exploring how to create neon signs regularly, investing in quality tools makes the process smoother and safer.
- Print your design to scale.
- Tape it to the back of your acrylic sheet.
- Trace the outline lightly.
- Cut the acrylic to shape (rectangle or custom contour).
- Drill holes for mounting screws or hanging hardware.
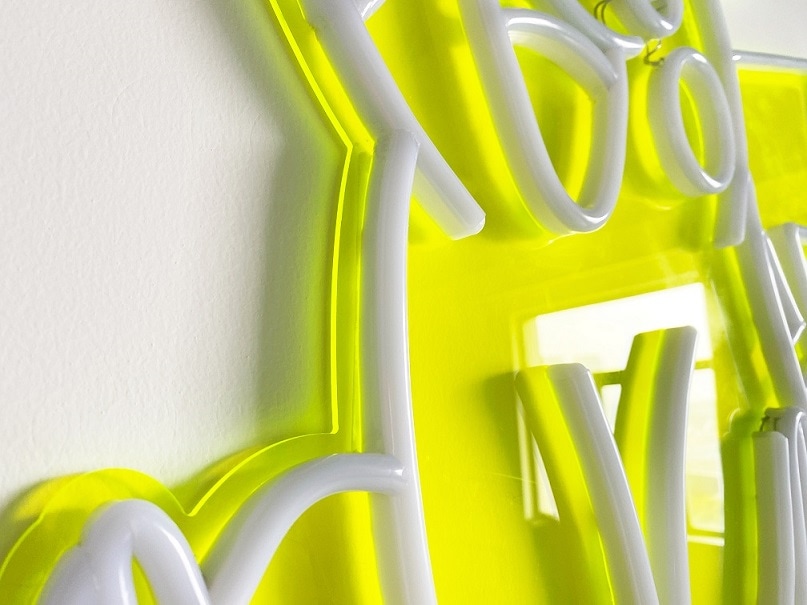
Pro tip: Clear acrylic keeps the focus on the glow. Frosted acrylic adds a subtle halo effect.
Step 4: Shape the LED Neon Tubing
This is where your sign starts to come alive.
Bending the Tubing
LED neon flex can be bent by hand along its designated bending axis. Always check the product specifications—some bend vertically, others horizontally.
Follow your printed template carefully:
- Start at one end.
- Work slowly along curves.
- Avoid twisting the tubing.
For tight corners:
- Create small angled cuts (only where permitted by the manufacturer).
- Use connectors if necessary.
Anyone researching how to make a neon light quickly discovers that patience matters. Rushing leads to uneven lines.
Step 5: Secure the Tubing to the Backing
There are several mounting methods:
Option 1: Mounting Clips
- Clear clips hold the tubing discreetly.
- Ideal for clean, professional finishes.
Option 2: Silicone Adhesive
- Provides a seamless look.
- Requires curing time.
Option 3: Routed Channels (Advanced)
- CNC grooves in acrylic for embedded tubing.
- Best for experienced makers.
For most diy neon sign projects, transparent clips strike the right balance between simplicity and durability.
Step 6: Wiring and Power Setup
Now, let’s cover the electrical side of how to make LED neon signs.
Connect to Power
- Match voltage (commonly 12V or 24V).
- Secure polarity correctly.
- Use proper connectors or solder joints.
If using RGB:
- Connect to the controller first.
- Pair the remote or app if applicable.
Hide the Wires
You can:
- Drill a small hole through the acrylic to pass wiring behind.
- Use cable clips along the edge.
- Mount the power supply out of sight.
Always test before final installation.
Step 7: Installation
Depending on your setup:
- Wall mount with screws and spacers.
- Hang with a chain or wire.
- Place on a stand for events.
For businesses learning how to create neon signs for storefront use, consider weatherproof-rated LED neon and sealed power supplies for outdoor installations.
Design Tips for a Professional Look
If you want your DIY LED neon letters to look store-bought rather than homemade, keep these tips in mind:
1. Consistent Stroke Width
Don’t mix multiple tubing widths in one word.
2. Balanced Spacing
Leave equal spacing between letters.
3. Clean Edges
Trim backing neatly—no jagged acrylic cuts.
4. Use a Dimmer
A brightness controller dramatically improves usability.
Safety Considerations
Even though LED is safer than glass neon, there are still precautions when learning how to make neon signs.
Electrical Safety
- Use certified power supplies.
- Avoid overloading circuits.
- Keep connections insulated.
- Keep connections insulated.
- Never splice live wires.
Heat Awareness
LED neon runs cool, but:
- Do not wrap it in fabric.
- Ensure airflow around power adapters.
Indoor vs. Outdoor
Outdoor signs require:
- IP-rated waterproof tubing.
- Sealed connectors.
- Protected power sources.
Mounting Security
Ensure:
- Anchors are appropriate for drywall or concrete.
- Hanging hardware is weight-rated.
Common Mistakes to Avoid
If you’re just starting your diy neon sign journey, watch out for these pitfalls:
- Ordering the wrong voltage.
- Ignoring the minimum bending radius.
- Forgetting a dimmer.
- Underestimating wiring length.
- Poor acrylic cutting.
Planning prevents frustration.
Cost Breakdown
One reason many people explore how to make a neon light themselves is budget.
Approximate costs:
- LED neon flex: $5–$20 per foot
- Acrylic backing: $30–$100
- Power supply: $15–$40
- Mounting hardware: $10–$25
A medium-sized sign may cost $150–$350 in materials. Larger or RGB designs increase the price.
When DIY Makes Sense (and When It Doesn’t)
Building your own LED neon sign is ideal for:
- Hobby projects
- Personal décor
- Learning new skills
- One-time event signage
However, consider professional production if:
- You need complex logos
- The sign is for commercial branding
- Precision is critical
- Time is limited
Sometimes outsourcing saves money in the long run.
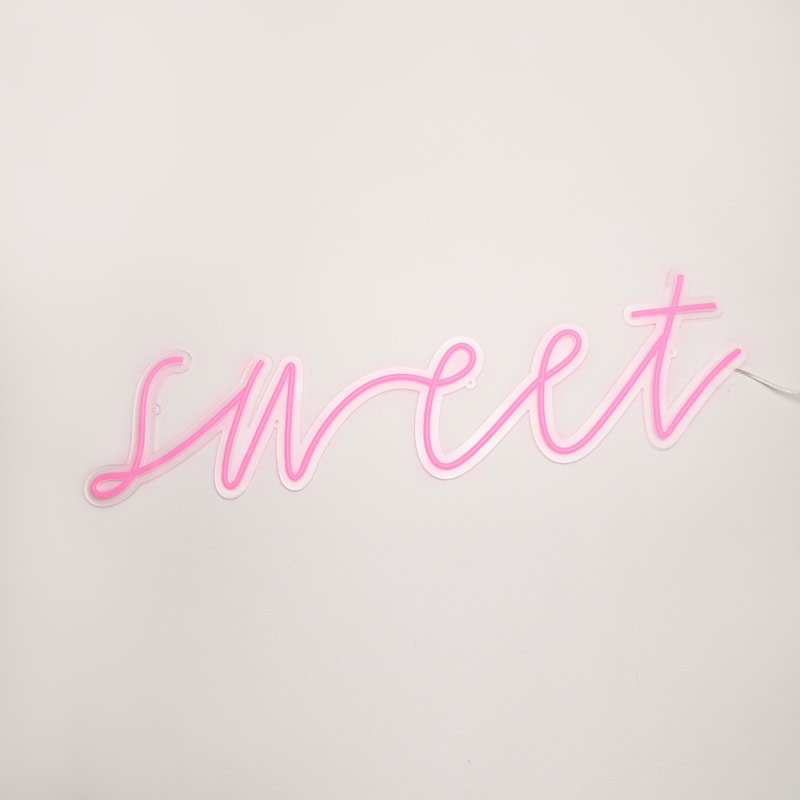
Creative Ideas for DIY LED Neon Letters
Looking for inspiration?
- Nursery name signs
- Wedding last names
- Café menu highlights
- Motivational office quotes
- Gaming room setups

Maintenance Tips
Once your diy neon sign is installed:
- Dust gently with microfiber cloth.
- Avoid harsh cleaning chemicals.
- Check connections annually.
- Store safely if used seasonally.
LED neon typically lasts 30,000–50,000 hours.
Frequently Asked Questions
Is making a DIY neon sign hard?
Not particularly. If you can measure accurately and follow wiring instructions, you can learn how to make LED neon signs successfully.
Do I need to solder?
Some kits are plug-and-play. Custom cuts may require soldering.
Is it safe for bedrooms?
Yes—LED neon operates at low voltage and minimal heat when properly installed, which makes them a perfect addition to bedrooms, living rooms, and home offices.
Final Thoughts on DIY LED Neon Sign
Learning how to create neon signs at home opens the door to creative freedom. With flexible LED technology, what once required skilled glass bending is now accessible to hobbyists, designers, and small business owners.
A well-built diy neon sign adds personality, atmosphere, and visual impact to any space. By choosing quality materials, planning carefully, and prioritizing safety, you can create a glowing statement piece that lasts for years.
Whether you’re experimenting with DIY LED neon letters, researching how to make a neon light, or building a full-scale LED neon sign for your brand, the process is both practical and rewarding.
And once you see your design light up for the first time, you’ll understand why neon never goes out of style.