
This article is part of A Complete Guide to DIY LED Neon Signs.
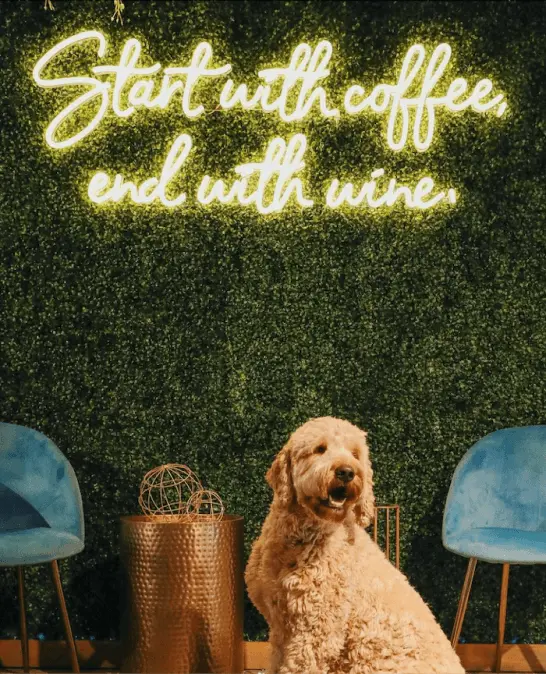
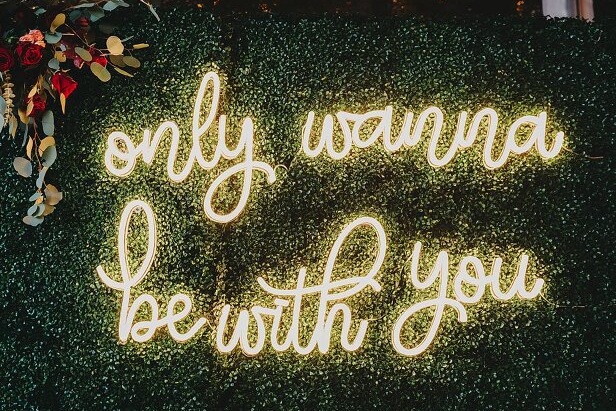
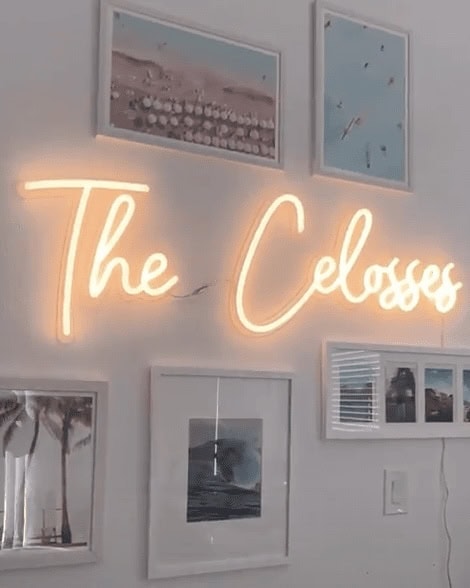
Neon lettering has always carried a certain presence. Whether it’s a café name glowing in a window or a single word lit up in a bedroom, illuminated letters draw attention in a way that flat signage simply can’t. In recent years, DIY LED neon letters have become increasingly popular—not just among hobbyists, but also small business owners, event planners, and designers who want something custom without the fragility of traditional glass neon.
If you’ve been researching how LED neon works, how to create neon signs, or how to make LED neon signs at home, this guide explains the technology clearly. We’ll look at the technology behind a modern LED neon sign, what makes it different from traditional neon, how individual letters are formed, and what to consider before starting a project.
From Glass Neon to LED Neon
To understand DIY LED neon letters, it helps to know where neon signage began.
Vintage neon signs are made from glass tubes filled with inert gases like neon or argon. When high voltage electricity passes through the tube, the gas glows. Different gases and coatings produce different colors. These signs are handcrafted by skilled glass benders who heat and shape the tubes into letters and designs.
Modern LED neon sign technology was developed to replicate the visual effect of glass neon while eliminating most of its drawbacks.
LED neon uses low-voltage light-emitting diodes encased in flexible silicone or PVC tubing. The result is a continuous line of diffused light that closely resembles traditional neon—but is far more durable and accessible for DIY projects.
What Is LED Neon, Exactly?
When people search for how to make LED neon signs, they often imagine bending glowing tubes the way traditional neon artists do. In reality, LED neon works differently.
A typical LED neon strip consists of:
- LED Chips – Small light-emitting diodes mounted along a flexible strip.
- Flexible Circuit Board – Carries power evenly to each diode
- Diffused Silicone Jacket – Encases the LEDs and softens the light to create a smooth glow.
- Protective Housing – Adds durability and water resistance (depending on rating).
The silicone casing is key. Without it, you’d see individual LED dots. The diffusion layer spreads the light evenly, creating that familiar neon-like line.
For anyone exploring DIY LED neon letters, understanding this structure helps explain why the light appears continuous—and why certain bending limits exist.
How LED Neon Produces Light
At its core, LED technology works through electroluminescence.
When electrical current flows through a semiconductor inside each diode, electrons recombine with electron holes, releasing energy in the form of photons—visible light. The color depends on the semiconductor material used.
LED neon typically runs at 12V or 24V. This low-voltage system makes it safer and more energy efficient.
In practical terms, that means:
- Lower electricity costs
- Minimal heat output
- Safer indoor installation
- Longer lifespan (often 30,000–50,000 hours)
This is one reason DIY LED neon letters are feasible for home creators. The technology is manageable without specialized industrial equipment.
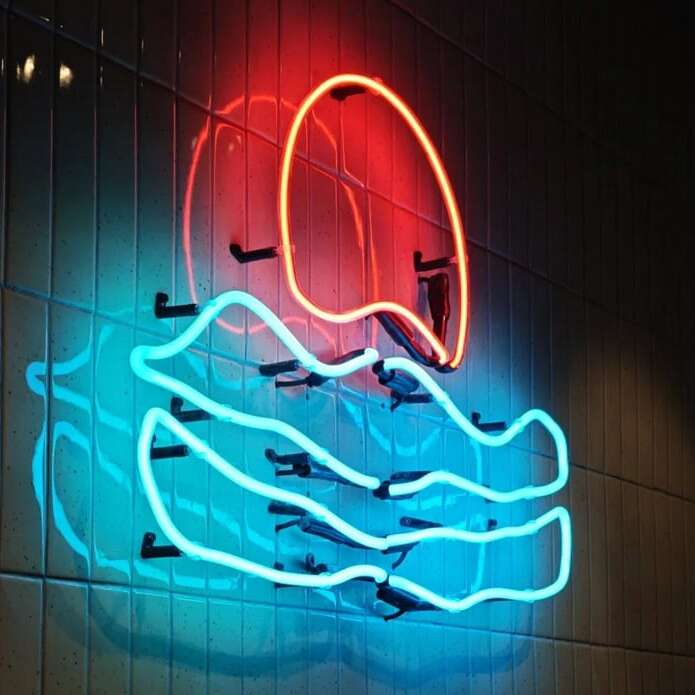
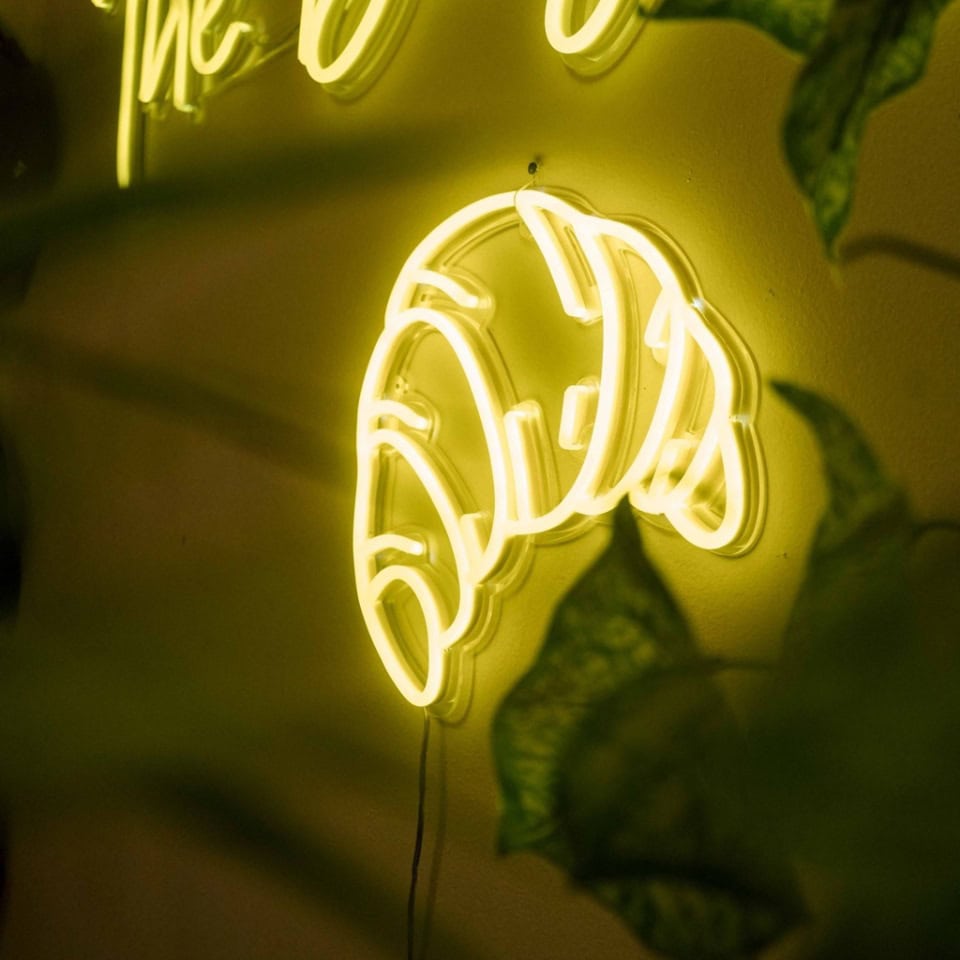
How Individual LED Neon Letters Are Formed
When building DIY LED neon letters, you’re essentially shaping flexible LED neon tubing into letterforms and mounting them to a backing surface.
There are two main approaches:
1. Surface Mount Method
The LED neon strip is bent along the outline of a letter and attached to:
- Clear acrylic
- Painted backing board
- Metal panel
Transparent clips or adhesive hold the tubing in place.
2. Routed Channel Method
In more advanced builds, channels are carved into acrylic using CNC routing. The LED neon tubing sits inside the groove, creating a clean, embedded look.
For most people researching how to create neon signs at home, the surface mount method is more practical.
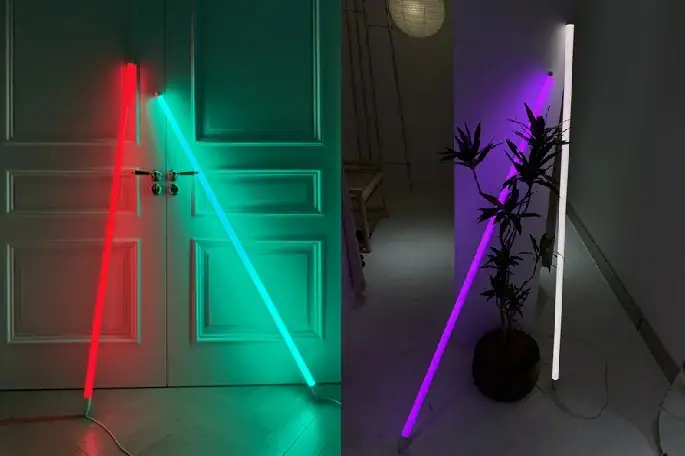
Bending and Shaping LED Neon
One common misconception about how to make LED neon signs is that the material bends freely in all directions. In reality, LED neon flex has a designated bending axis.
There are two main types:
- Top-bend neon flex – Bends vertically (ideal for letters).
- Side-bend neon flex – Bends horizontally.
Each product has a minimum bending radius. For example, a 6mm neon flex may allow tighter curves than a 12mm version.
When shaping DIY LED neon letters:
- Avoid sharp 90-degree corners.
- Use gentle curves.
- Plan stroke width carefully.
- Allow space for wiring exits.
Understanding bending limits prevents cracking or internal circuit damage.
Power Supply and Electrical Setup
Every LED neon sign requires a compatible power source.
Key factors include:
- Voltage (12V or 24V)
- Wattage capacity
- Indoor or outdoor rating
- Dimming capability
To calculate wattage needs:
- Check watts per foot (or meter).
- Multiply by total length used.
- Add 10–20% headroom for safety.
For example:
If your LED neon strip uses 5W per foot and your design requires 8 feet:
5W × 8 = 40W
Recommended power supply: at least 50W.
This calculation is essential when learning how to make LED neon signs safely.
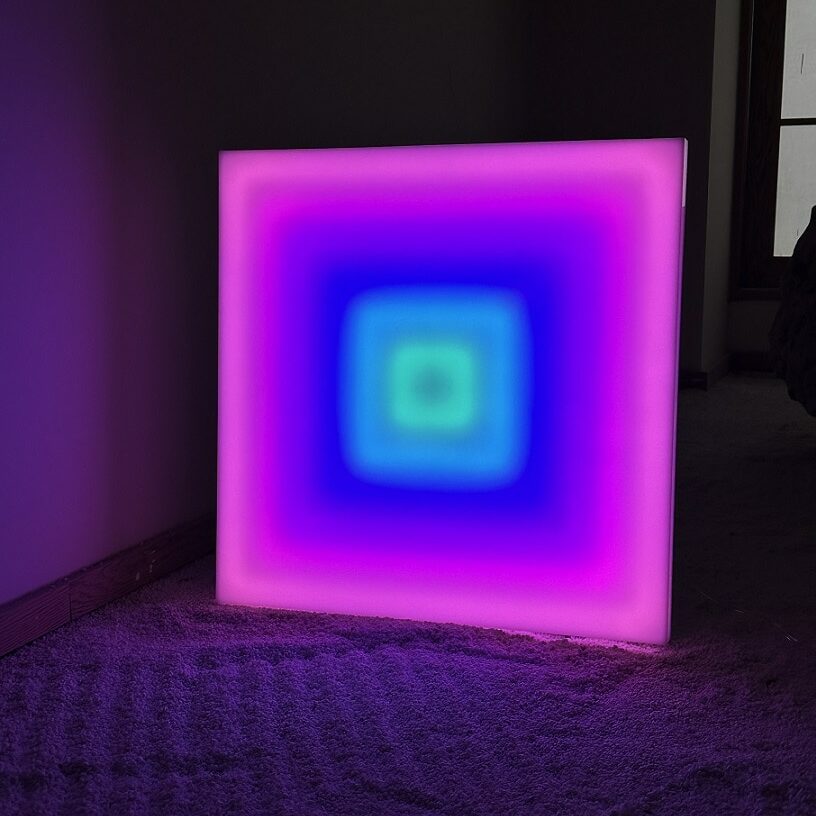
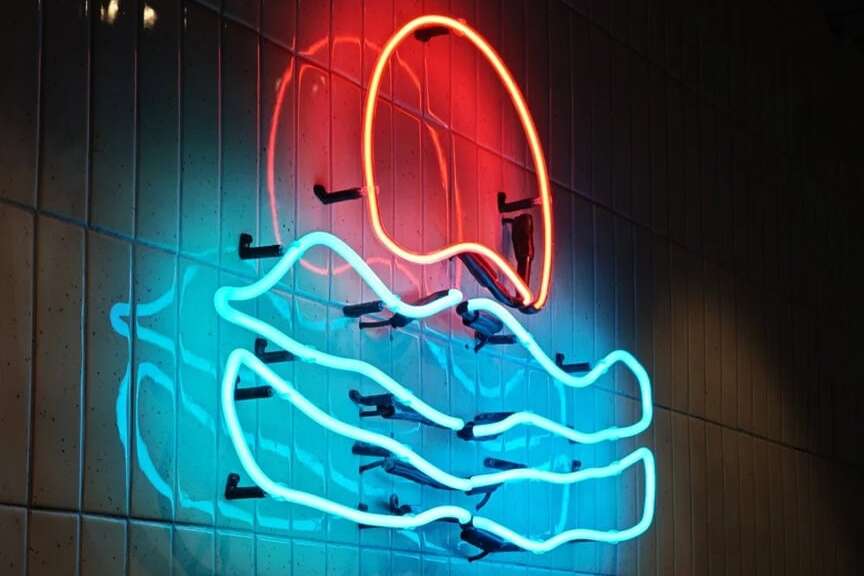
Single Color vs RGB LED Neon
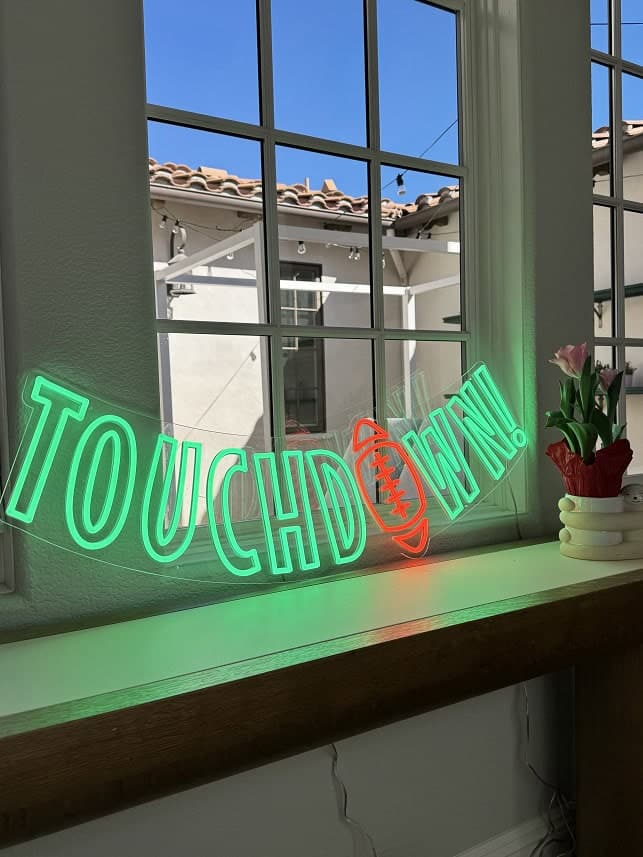
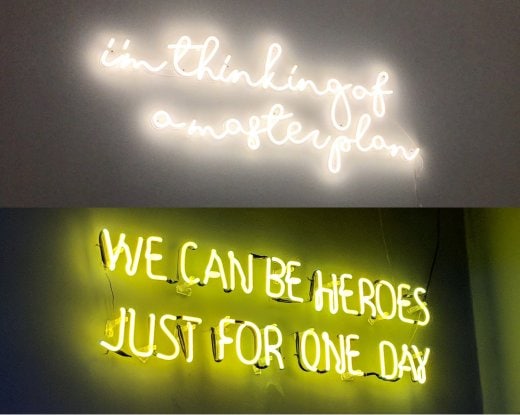
When designing DIY LED neon letters, you can choose between:
Single Color
- White (warm, neutral, cool)
- Red, blue, pink, green, etc.
- Simple wiring
- Clean, classic look
RGB (Dynamic Color)
- Multiple colors in one strip
- Remote or app control
- Color-changing modes
- Animated effects
RGB systems require an additional controller between the power supply and LED strip.
For home décor and brand signage, single-color often provides a more timeless appearance. RGB is popular for gaming rooms, event backdrops, and creative installations.
Mounting and Backing Materials
Most DIY LED neon letters are mounted on acrylic because:
- It’s lightweight.
- It’s transparent.
- It’s durable.
- It creates a floating glow effect.
Common acrylic thickness:
- 3mm for small signs
- 5–8mm for larger letters
You can cut acrylic into:
- Individual letter shapes
- A single rectangular panel
- Custom contoured outlines
When people research how to create neon signs professionally, they quickly realize the backing is just as important as the lighting.
Indoor vs Outdoor Considerations
Not all LED neon products are waterproof.
If you plan to install outdoors:
- Choose IP65 or higher rated LED neon.
- Seal wire connections with heat shrink tubing.
- Protect power supplies from rain.
- Use outdoor-rated adapters.
Indoor DIY LED neon letters don’t require the same level of sealing, but electrical safety still matters.
Heat and Safety
One major advantage of LED neon over traditional neon is temperature.
Glass neon can become hot. LED neon remains relatively cool because LEDs convert more energy into light than heat.
Still:
- Do not cover with fabric.
- Ensure ventilation around power supply.
- Avoid placing near flammable materials.
Low voltage makes LED neon much safer—but responsible installation is always essential.
Longevity and Maintenance
A well-built LED neon sign can last for years with minimal upkeep.
Maintenance tips:
- Dust gently with microfiber cloth.
- Avoid harsh chemical cleaners.
- Check wiring connections annually.
- Store carefully if seasonal.
Unlike traditional neon tubes, LED neon doesn’t contain gas and is far less prone to catastrophic breakage.
Is DIY the Right Choice?
Building DIY LED neon letters can be rewarding. You gain:
- Full creative control
- Hands-on experience
- Custom sizing flexibility
- Personal uniqueness
However, it also requires:
- Careful measuring
- Electrical knowledge
- Clean finishing skills
- Time and patience
Complex logos, intricate scripts, or commercial branding often demand precision that’s difficult to achieve in a home workshop.
When Professional Fabrication Makes Sense
If you love the idea of neon lettering but prefer a polished, ready-to-install finish, professionally produced signs are often the smarter route.
At neon sign brands such as Echo Neon, they work with the same LED neon technology discussed above—but with commercial-grade materials, precise layout planning, and controlled fabrication processes. You can choose from pre-made designs or upload your own text or logo for a fully customized piece. Our team handles proportion adjustments, structural backing, wiring layout, and finishing details so the final result is clean, balanced, and installation-ready.
For many customers, it’s simply a matter of choosing where to invest time. Some enjoy building DIY LED neon letters themselves. Others prefer to share their vision and let experienced makers bring it to life. Both approaches start with the same technology—the difference lies in execution and refinement.
Design Principles for Clean LED Neon Letters
Whether DIY or professionally made, strong neon lettering follows a few basic rules:
1. Consistent Stroke Width
Mixing multiple tubing widths in one word can look uneven
2. Balanced Spacing
Kerning matters. Letters should feel evenly spaced.
3. Proper Proportion
Tall, narrow letters may distort readability if not planned carefully.
4. Thoughtful Color Choice
Warm white feels inviting. Cool white feels modern. Pink and red draw attention quickly.
Anyone serious about how to make LED neon signs should treat typography with the same care as lighting.
The Future of LED Neon
LED neon technology continues to improve. New developments include:
- Thinner profiles
- Higher brightness efficiency
- Smart app integration
- Improved waterproof ratings
- More consistent diffusion
As materials evolve, DIY LED neon letters will likely become even more accessible.
Final Thoughts on working with LED Neon
Understanding how LED neon works removes much of the mystery behind illuminated lettering. For those curious about how to create neon signs at home, the process is approachable with planning and patience. For those who want the glow without the technical work, professional fabrication offers precision and convenience.
Either way, the appeal of neon lettering remains the same: a simple line of light that transforms ordinary text into something memorable. Whether you experiment with DIY LED neon letters or choose a custom-made solution, the glow speaks for itself.