

This article is part of our Creative Custom Welcome Signs: Style Inspiration and Display Ideas.
There’s something satisfying about designing your own welcome sign. It might be for a wedding, a birthday, a baby shower, a storefront, or simply your home entryway. Whatever the reason, creating a custom welcome sign gives you control over the tone, the message, and the first impression people experience when they walk in.
Some prefer a fully handmade piece. Others start with editable templates and adjust fonts, wording, and layout until it feels right. And increasingly, many people are blending design flexibility with illuminated elements — from a subtle LED welcome sign to a bold custom light-up sign that doubles as décor and a focal point.
In this guide, we’ll walk through how to design your own welcome sign step by step, explore different style templates, and help you decide whether a printable board, layered acrylic piece, or light-up welcome sign best fits your space.
Why Design Your Own Welcome Sign?
Pre-made décor can be convenient, but it rarely feels personal. When you personalize a welcome sign, you’re doing more than adding a name — you’re shaping the atmosphere.
A custom piece allows you to:
- Match your event theme precisely
- Reflect your brand identity
- Coordinate with your color palette
- Adjust wording for tone (formal, playful, minimal, bold)
- Control size and proportion
For events, especially, small design details make a noticeable difference in photos. A sign that matches invitations, table settings, and backdrops pulls everything together.
Starting With a Template: Why It Works
Designing from scratch can feel overwhelming. That’s why templates are useful.
An easy-to-edit template gives you:
- A balanced layout
- Font pairings that already work well together
- Spacing that’s visually pleasing
- A structure you can tweak without starting from zero
Instead of worrying about typography basics, you can focus on personalization — the part that makes it yours.
Choosing a Style Direction
Before editing text or adjusting sizes, think about style. Here are common template categories and how they translate into physical signage.
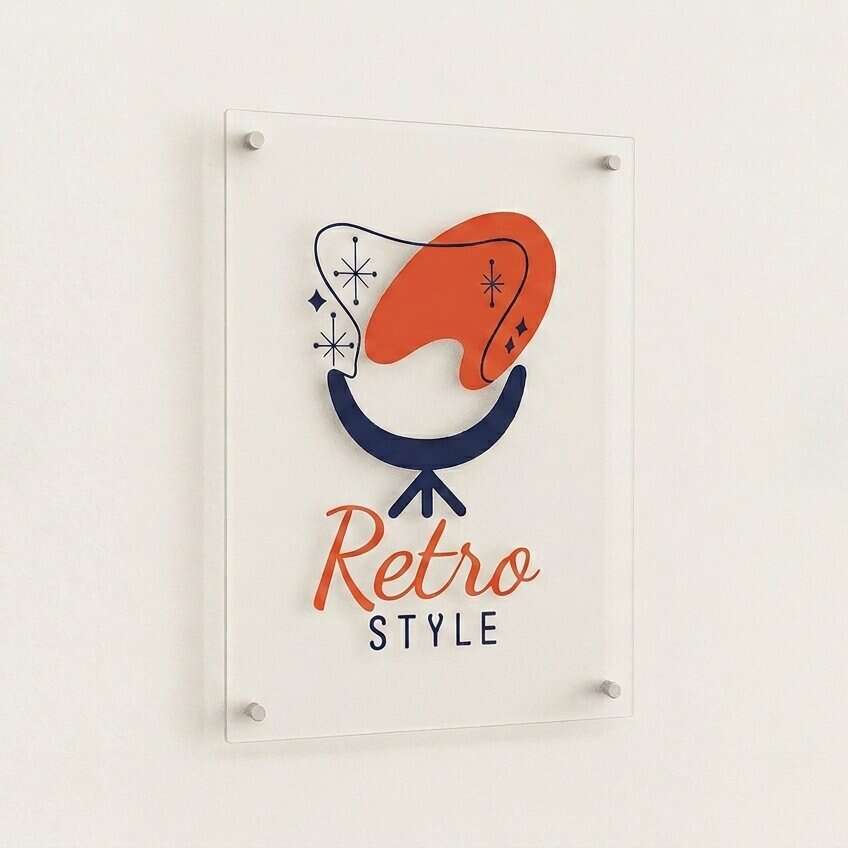
1. Minimal & Modern
Clean fonts. Simple alignment. Generous white space.
This style works well for:
- Contemporary weddings
- Rooftop parties
- Retail shops
- Creative studios
Template features often include:
- Sans-serif typography
- Centered layouts
- Monochrome color schemes
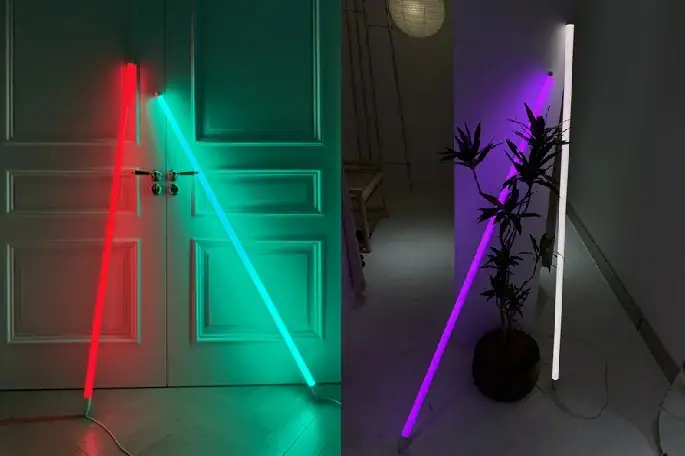
For a more permanent installation, this aesthetic pairs beautifully with a slim LED welcome sign mounted directly on a wall or acrylic backing.
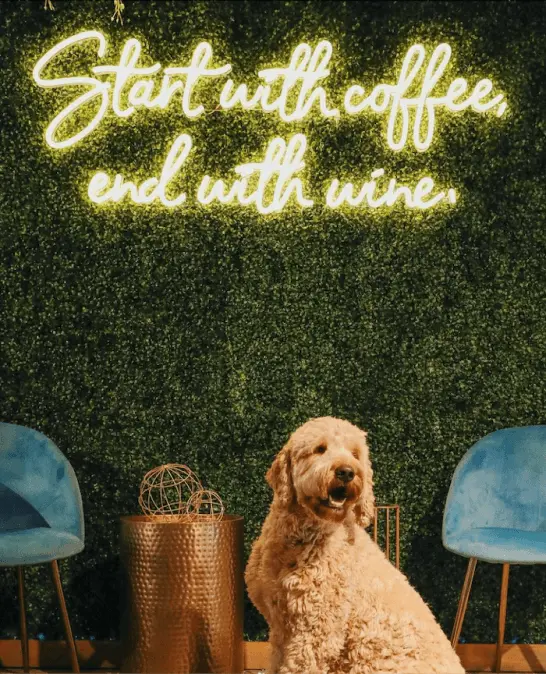
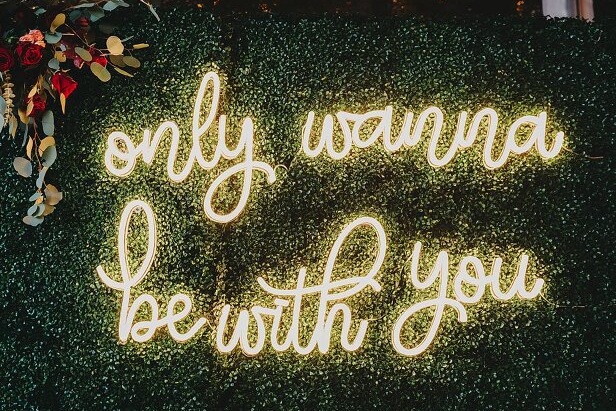
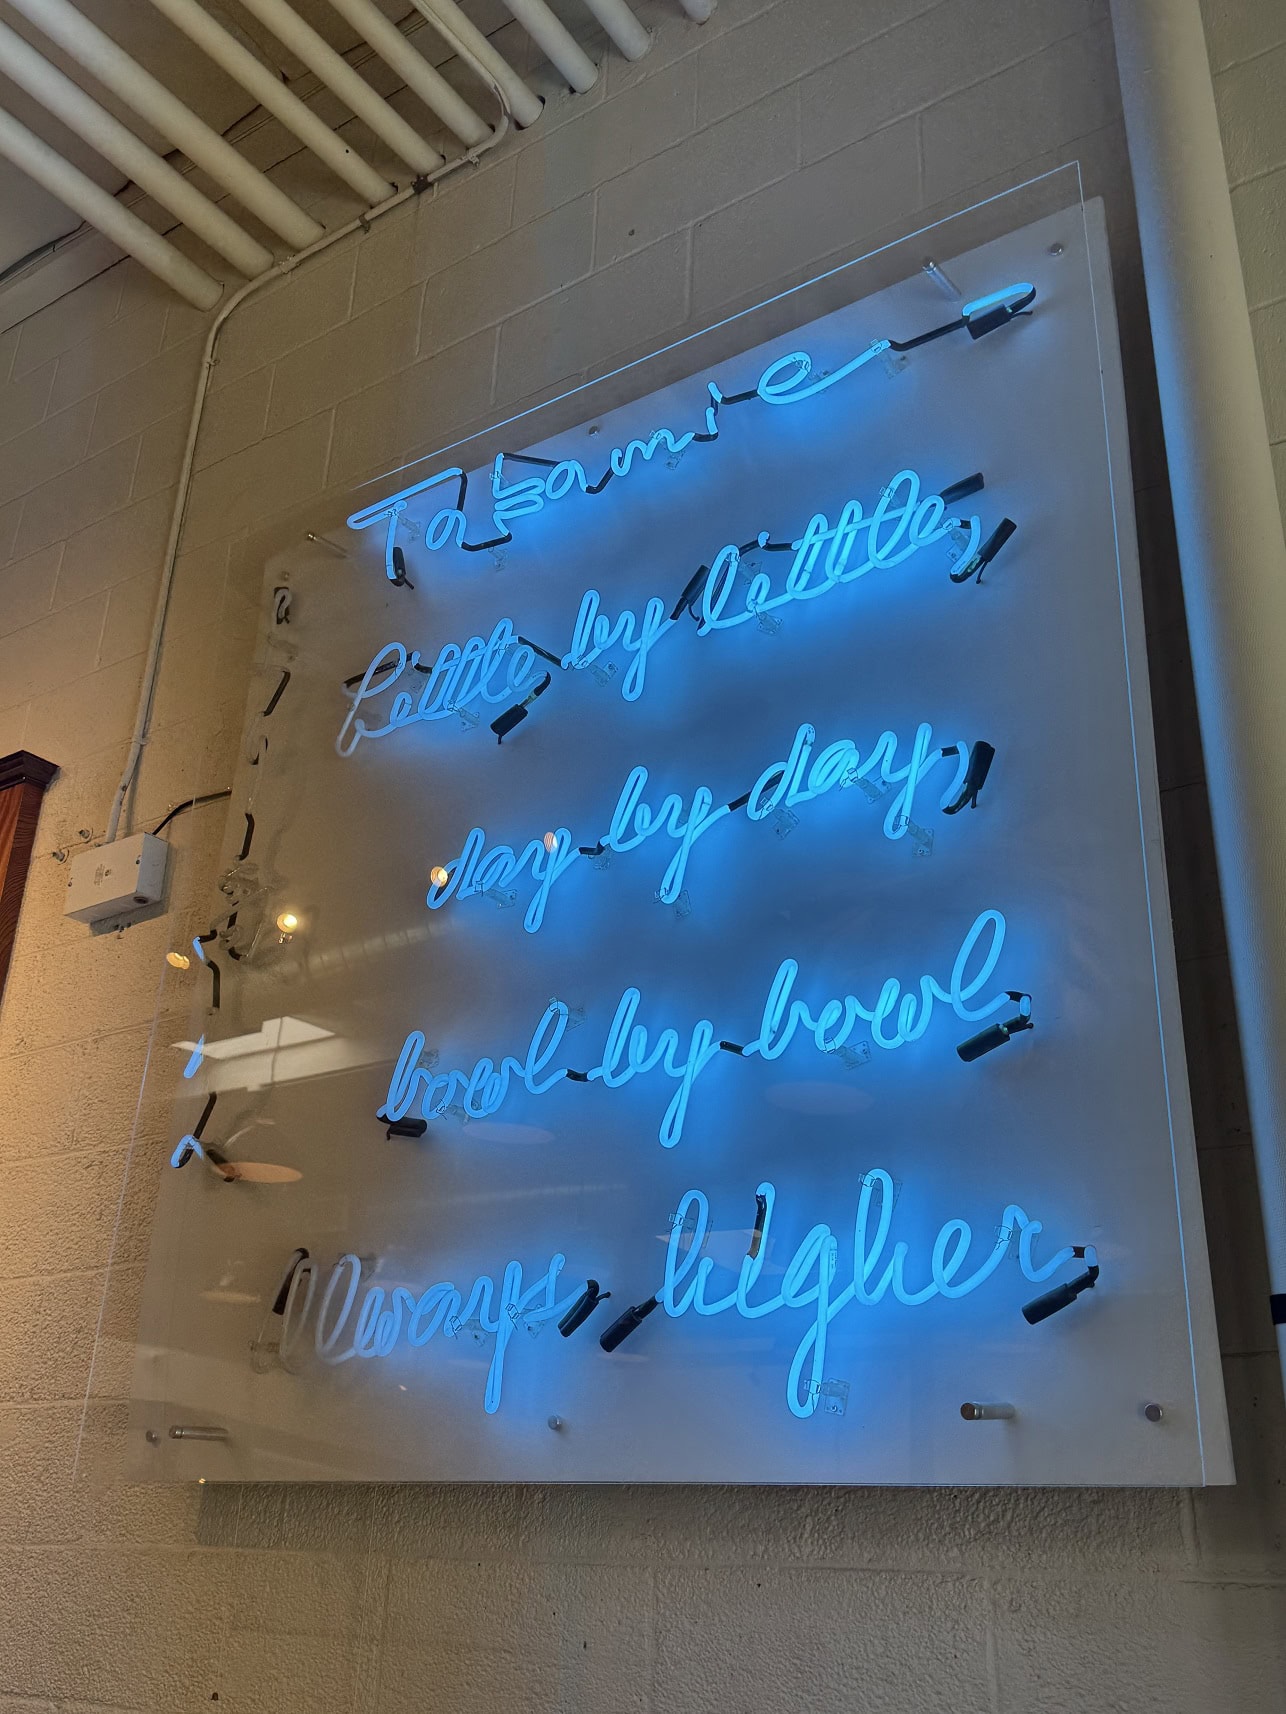
2. Romantic Script
Flowing cursive fonts. Soft spacing. Gentle curves.
Perfect for:
- Bridal showers
- Engagement parties
- Anniversary celebrations
Templates in this style often combine:
- Large script headers
- Smaller serif subtext
- Neutral or pastel tones
If you want to elevate this design beyond a printed board, a script-style light-up welcome sign creates the same elegant feeling with added depth
3. Rustic & Textured
Natural, warm, and handmade-inspired aesthetics.
Think farmhouse-inspired lettering, natural textures, and warm tones.
- Woodgrain backgrounds
- Handwritten-style fonts
- Earthy color palettes
You can print onto wood, canvas, or textured paper — or recreate the look using a warm-toned custom light-up sign mounted on stained wood for contrast.
4. Bold & Graphic
High-contrast fonts. Large-scale lettering. Playful layouts.
This works well for:
- Milestone birthdays
- Brand launches
- Youth-focused events
Short phrases are key here. Big, legible text translates especially well to illuminated signage, whether you’re creating a printed poster or transitioning the design into a glowing LED welcome sign.
How to Personalize a Welcome Sign Template
Once you’ve chosen a style, personalization begins.
Step 1: Adjust the Wording
Keep it short and clear. For example:
- Welcome to Emily’s 30th
- The Smith Wedding
- Welcome Baby Olivia
- Grand Opening
Long sentences can overwhelm the design — especially if you plan to convert the layout into a custom light-up sign, where readability matters.
Step 2: Select Fonts Carefully
If editing fonts:
- Pair one decorative font with one simple font.
- Avoid using more than two styles.
- Ensure legibility from a distance.
Script fonts look beautiful but can become difficult to read if overly intricate.
Step 3: Consider Scale
Think about viewing distance. A sign placed at an entrance needs larger lettering than one on a dessert table.
If converting your design into a light-up welcome sign, size affects brightness and impact. Larger signs create stronger presence but require proper placement and spacing.
Step 4: Choose a Material
Your template is just the beginning. The physical material determines the final effect.
Common options include:
- Foam board (budget-friendly, lightweight)
- Acrylic (modern, clean look)
- Wood (rustic, textured)
- Canvas (soft, artistic)
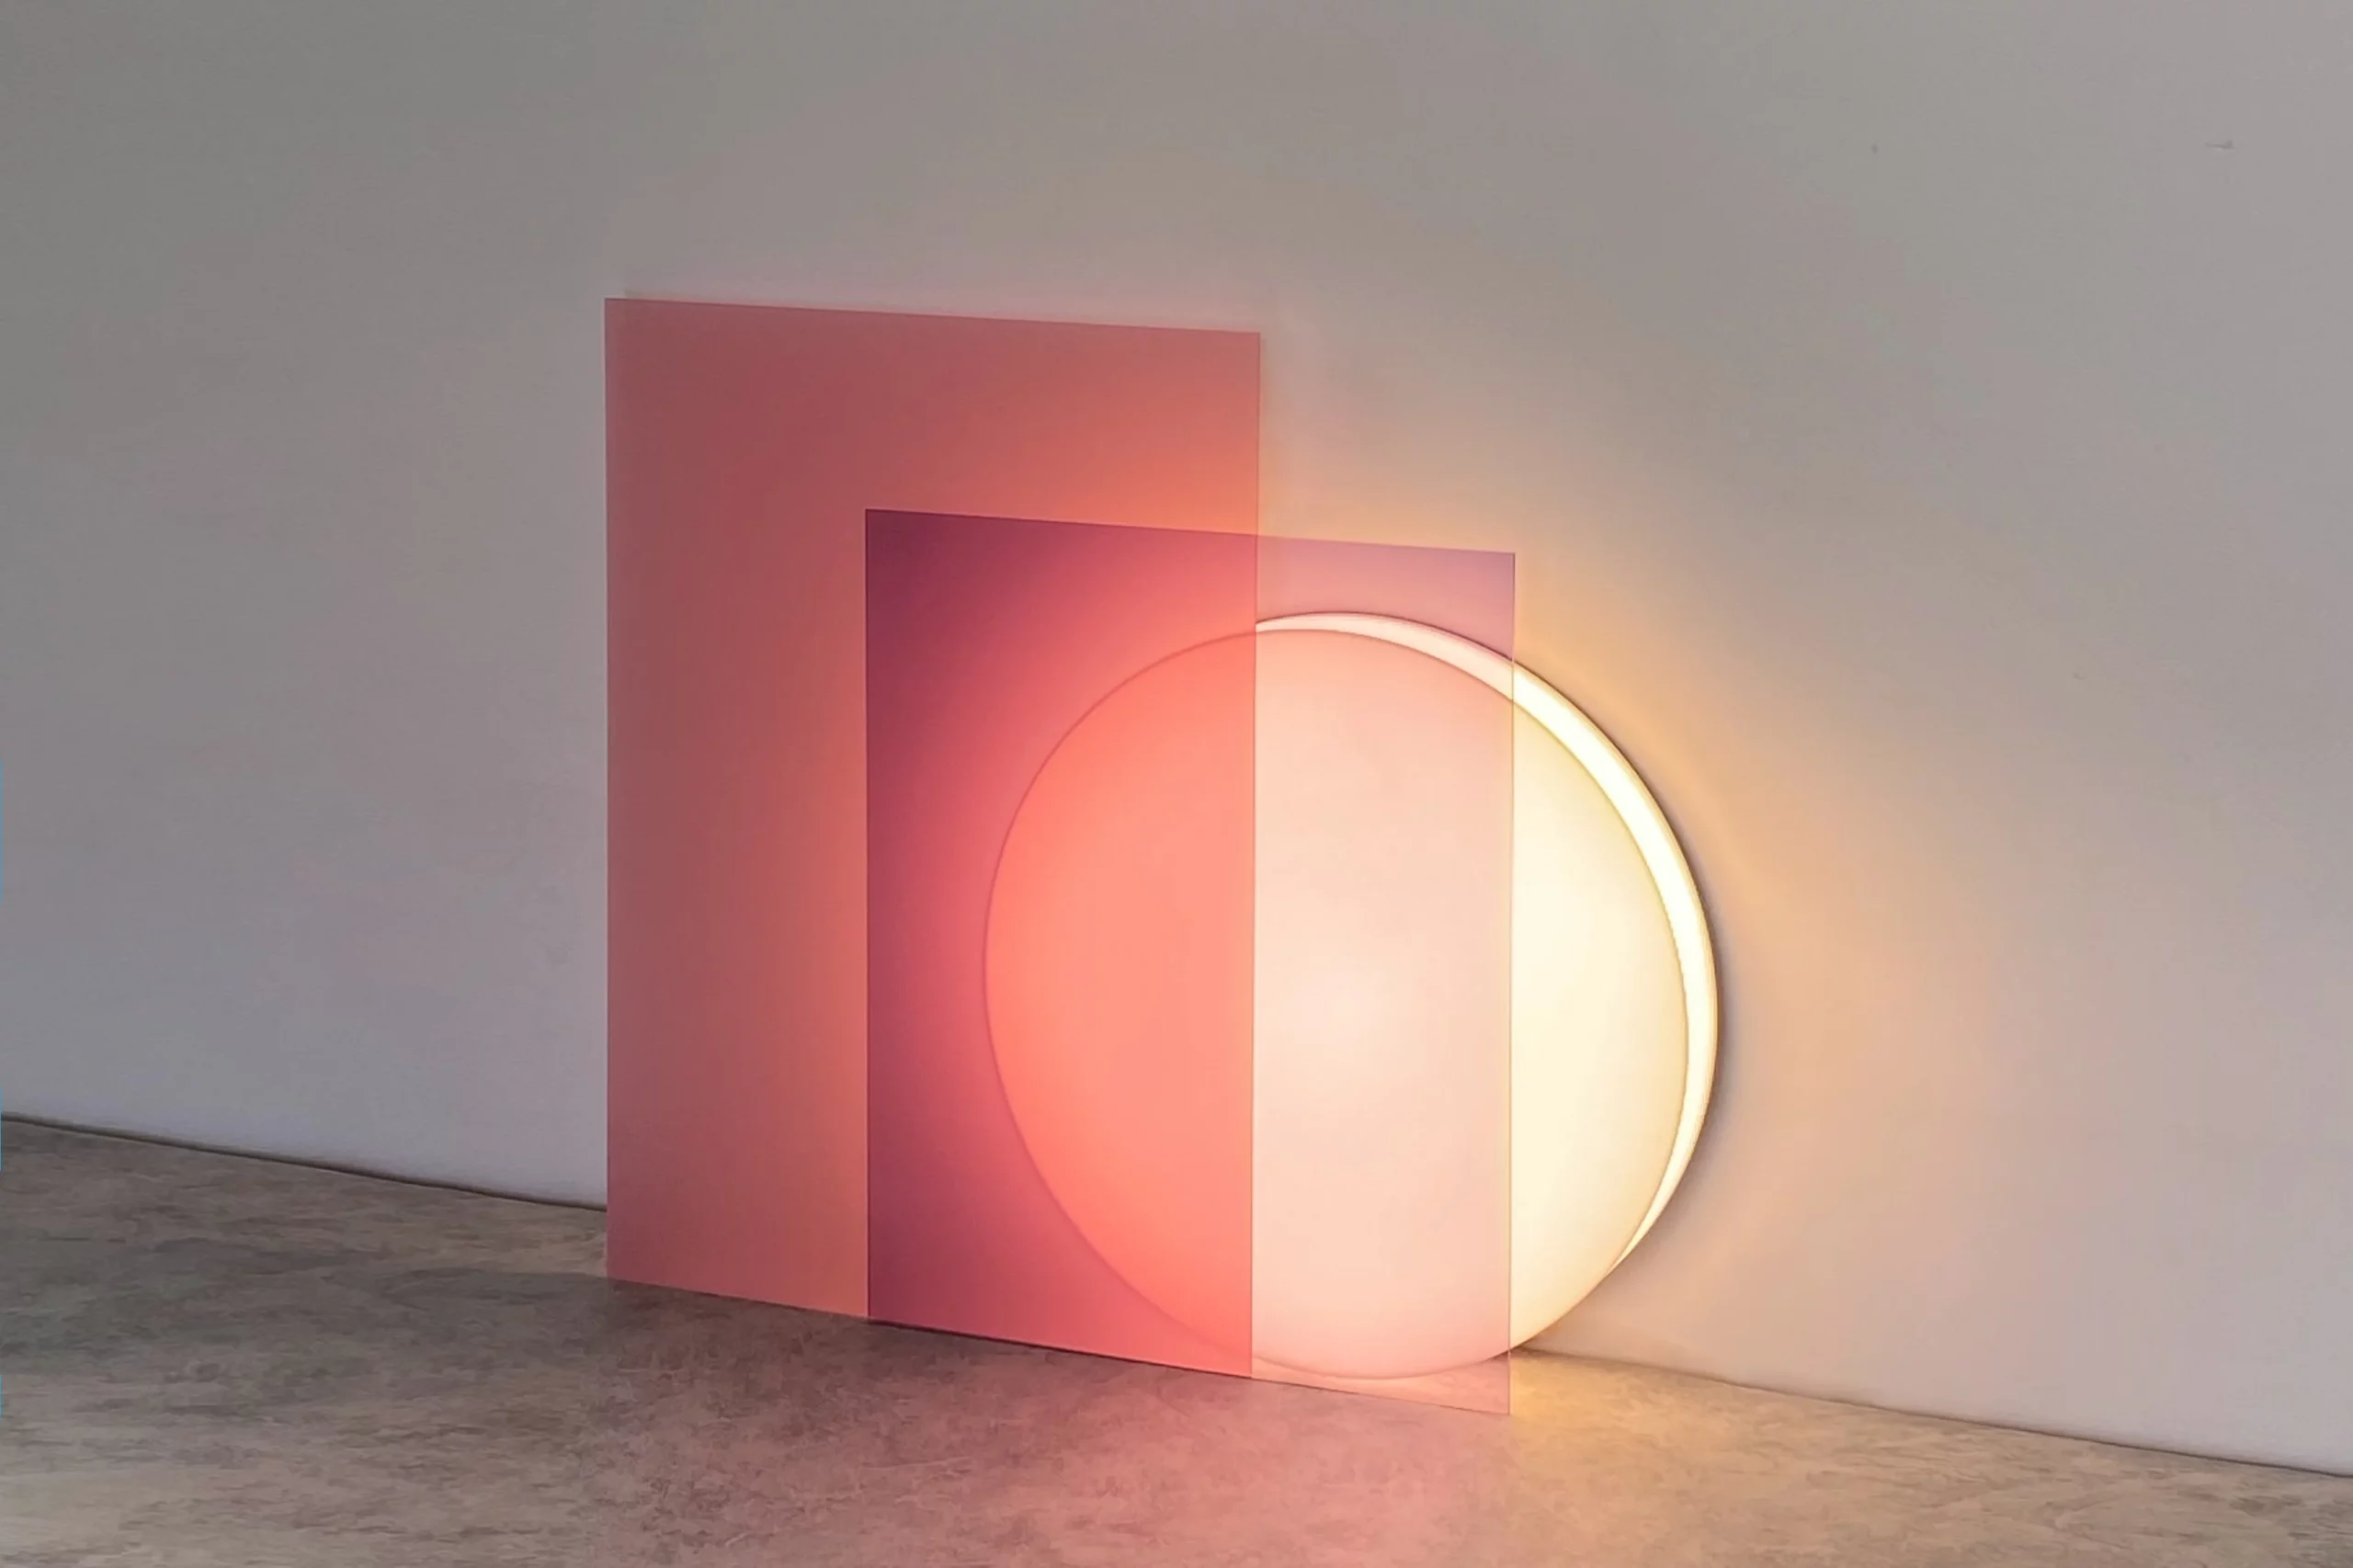
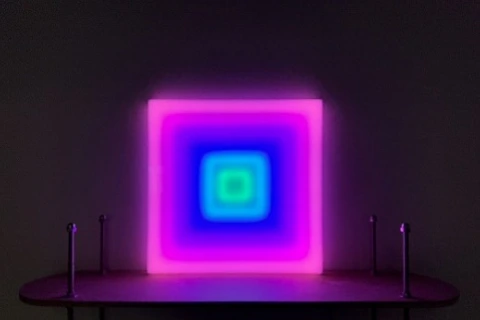
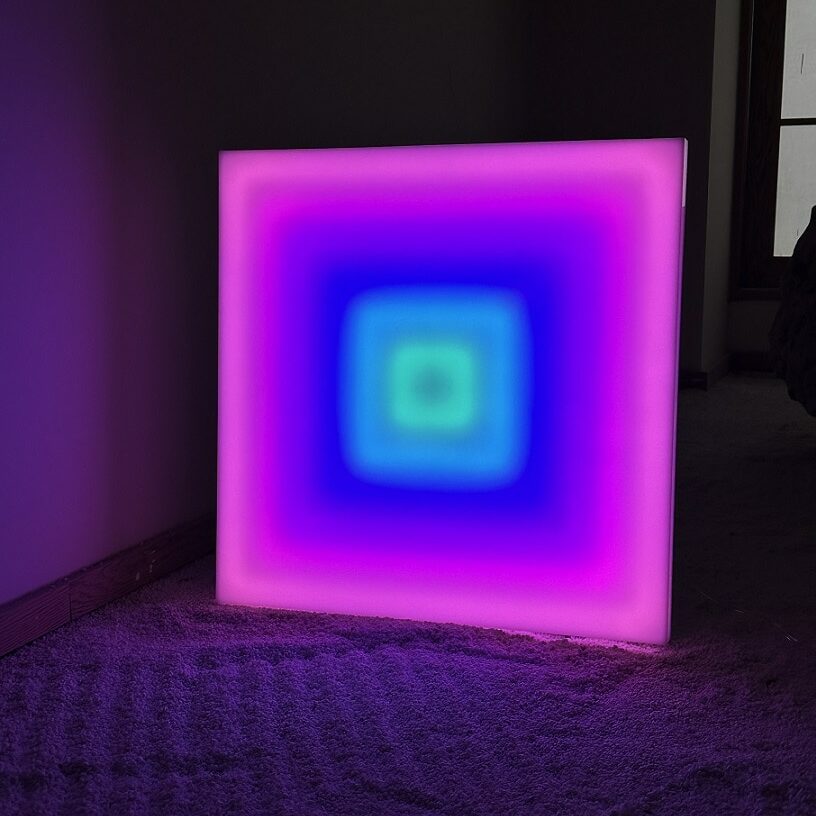
For a more dynamic look, illuminated options — such as a LED welcome sign — add dimension and longevity beyond a single event.
Printed Sign vs. Light-Up Sign: What’s the Difference?
Both options have value. The choice depends on your goals.
Printed Welcome Sign
Pros:
- Affordable
- Easy to produce quickly
- Lightweight
- Ideal for daytime events
Cons:
- Less visible in dim lighting
- No glow or depth
- Often single-use
Light-Up Welcome Sign
Pros:
- Highly visible in low light
- Doubles as décor
- Photographs beautifully
- Reusable
Cons:
- Higher upfront cost
- Requires a power source
For evening events or retail environments, a glowing sign naturally draws attention.
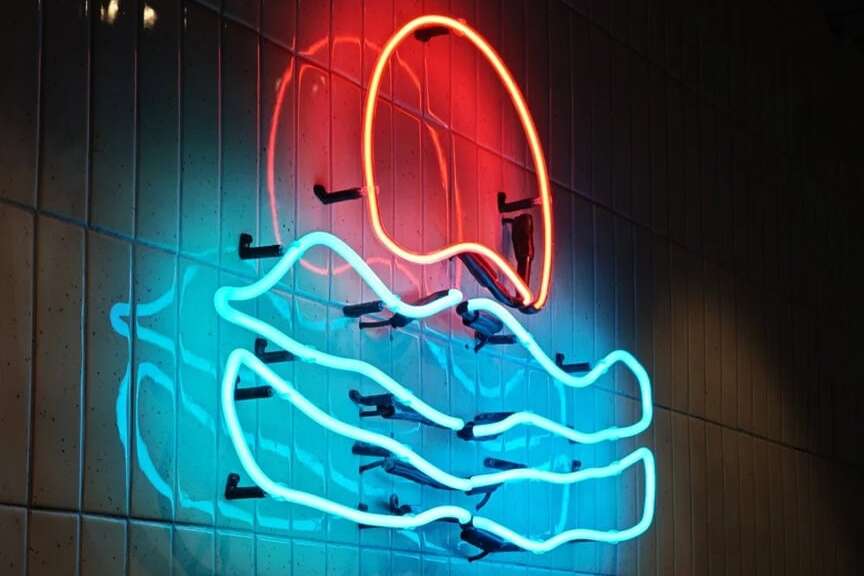
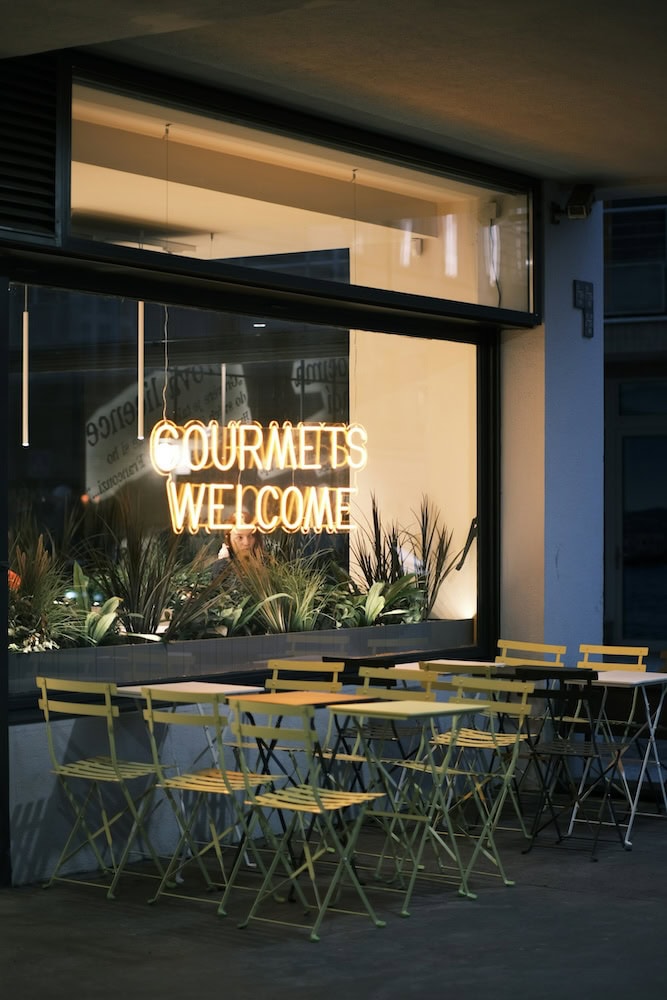
Inspired by Vintage Glass
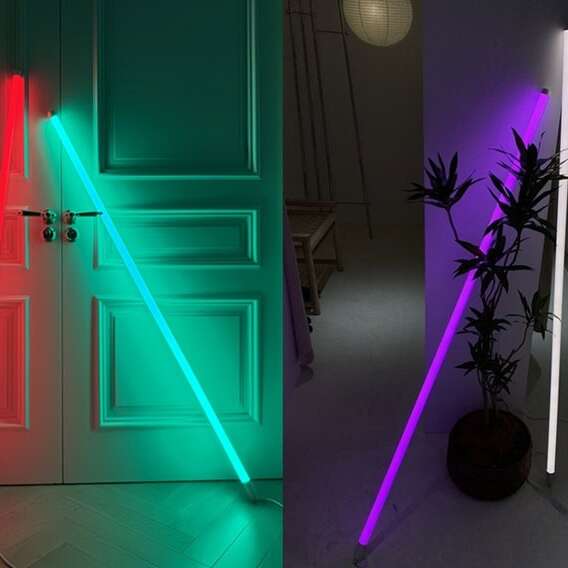
There’s a timeless appeal to a vintage glass welcome sign. The warm glow, the visible tubing, the nostalgic café feeling — it carries character.
However, authentic glass neon can be fragile and less energy-efficient. Modern LED alternatives recreate that vintage aesthetic while offering durability and lower power usage.
If you love that classic look but want practicality, LED-based designs provide a balanced solution.
Turning Your Template Into a Custom Light-Up Sign
One practical approach many hosts and business owners take is starting with an editable template, finalizing the layout digitally, and then transforming it into an illuminated piece.
This process ensures:
- Proper spacing
- Balanced proportions
- Clear legibility
At Echo Neon, we often see customers begin with a design concept — sometimes even a simple template mockup — and then work with our team to refine it into a finished custom welcome sign in illuminated form.
If you already have a layout or idea, you can share it, and we’ll adjust line thickness, spacing, and sizing to make it production-ready. If you prefer something quick, there are also pre-made designs available.
The goal isn’t to replace DIY creativity. It’s to provide a polished way to bring your design to life — especially when light is involved.
Styling Your Welcome Sign Display
Once your sign is ready, presentation matters.
Here are styling ideas:
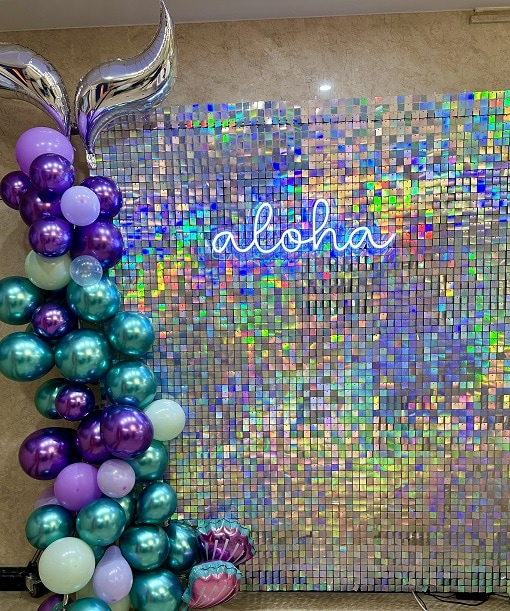
Balloon Frame
Wrap balloons around the perimeter of your sign for birthdays and showers.
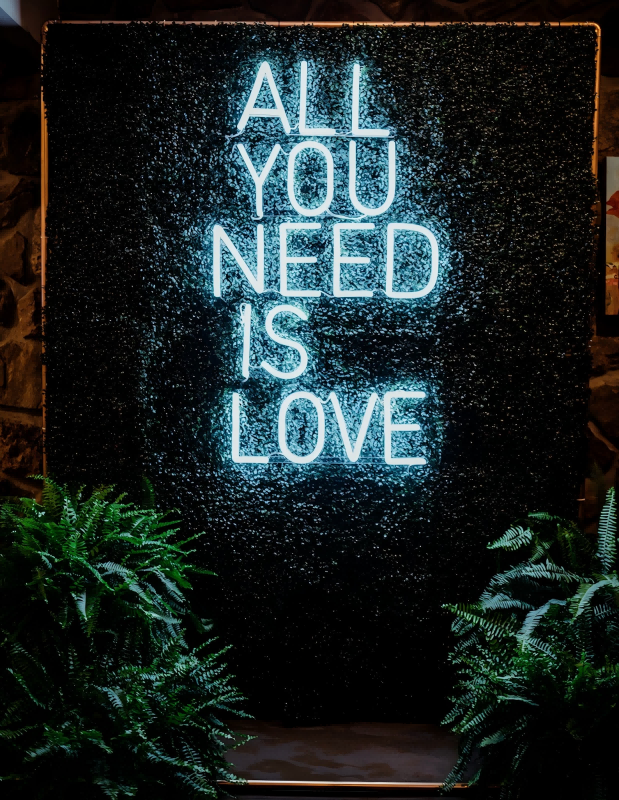
Floral Installation
Layer greenery or florals behind a glowing light-up welcome sign to soften the edges.
Fabric Draping
Sheer curtains behind an illuminated sign create depth and diffuse the glow slightly.
Wooden Stand
A freestanding frame works well for outdoor events or flexible placement.
Placement Tips
- Position at the natural entry point.
- Leave space for photos.
- Avoid direct sunlight for illuminated signs.
- Keep cords secure and discreet.
The best placement feels intuitive — guests shouldn’t have to search for the sign.
Reusability and Long-Term Value
A printed sign often serves one event. An illuminated sign can live on.
After the celebration, you might:
- Install it in a home entryway
- Use it for future parties
- Display it in a child’s room
- Mount it in a retail shop
Choosing a versatile phrase like “Welcome” or “Hello” increases long-term use.
Common Design Mistakes to Avoid
- Overcrowding the layout
- Using too many fonts
- Choosing colors that blend into the background
- Making text too small
- Ignoring lighting conditions
Keep it simple. Let the message breathe.
Final Thoughts
DDesigning your own welcome sign is about more than decoration. It’s about intention.
Whether you start with an editable template or sketch something from scratch, your custom welcome sign shapes how people feel when they arrive.
Printed boards offer simplicity. A glowing LED welcome sign adds atmosphere. A carefully crafted custom light-up sign becomes part of the space long after the event ends.
If you enjoy the DIY process, templates make it approachable. And when you’re ready to turn that design into something lasting and illuminated, Echo Neon can help refine and produce it with care.
However you choose to create it — painted, printed, or glowing — the first word guests see should feel like it belongs exactly where it is.